Unfreeze Your Shoulder; Reclaim Your Active Life
How Physical Therapy Can Help You Manage Frozen Shoulder
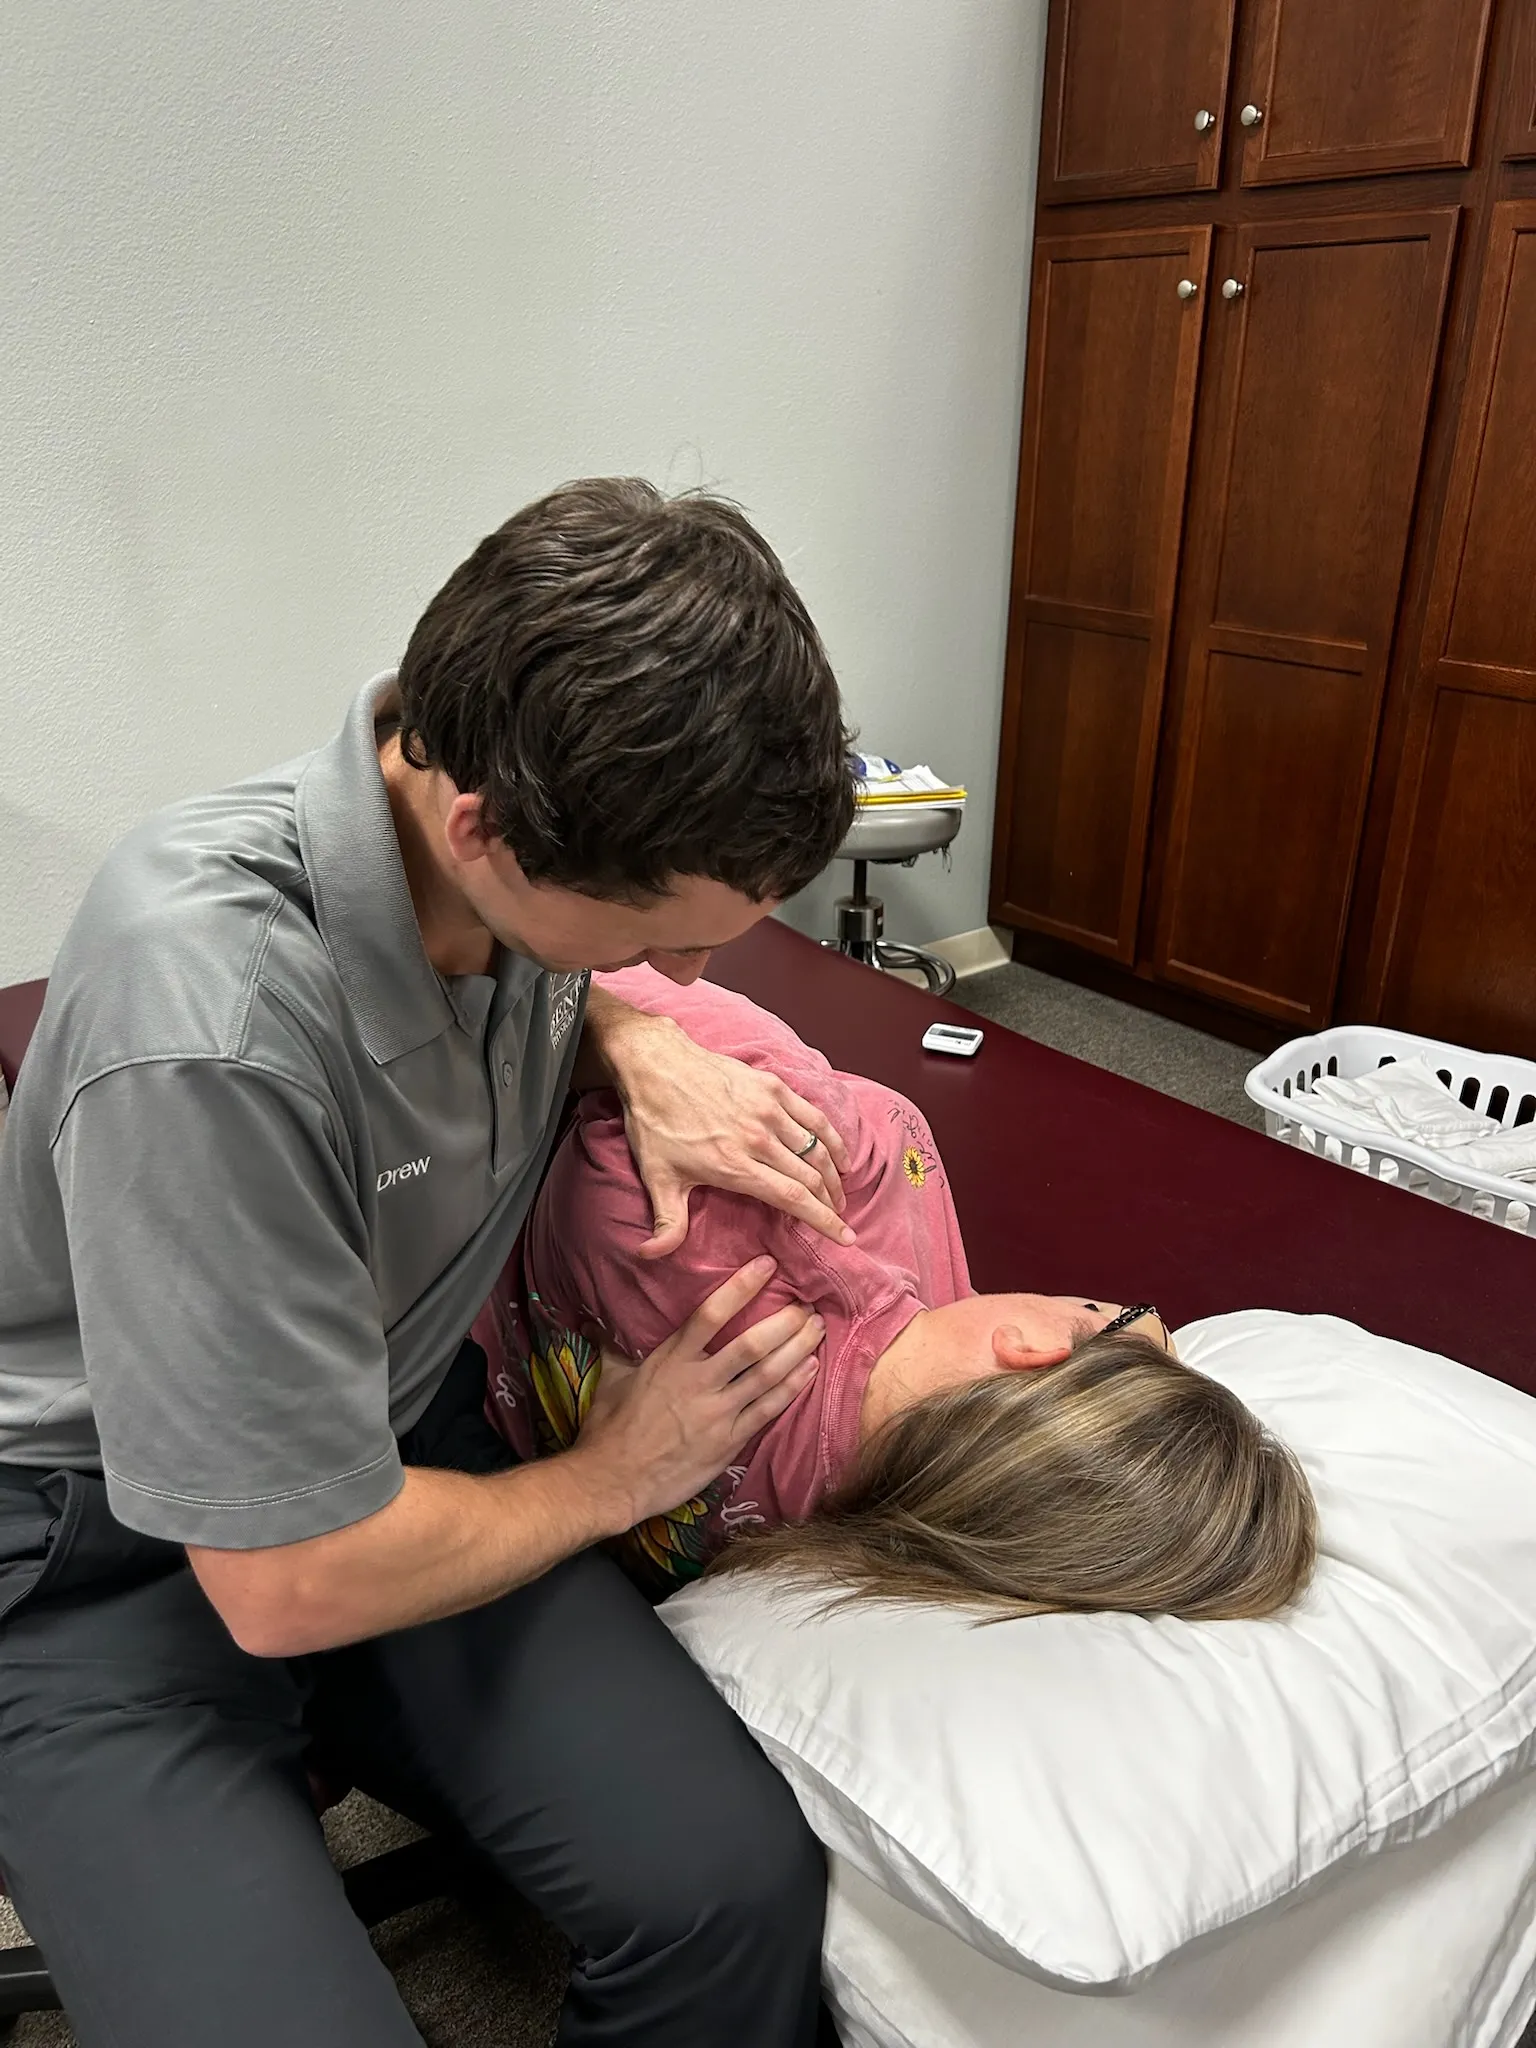
We recently worked with a patient who came to us after struggling with shoulder pain for several months. While she hoped it would go away on its own, it only got worse over time. When she visited us, she was also struggling to lift her shoulder overhead or reach behind her back.
This patient had developed adhesive capsulitis, more commonly known as frozen shoulder. It gets that name from the fact that the condition causes the shoulder to “freeze up” after a period of intense pain.
A frozen shoulder will eventually “unfreeze,” but that process can take anywhere from 1-3 years. Fortunately, the team at Pro-Active Physical Therapy can help you manage your symptoms and facilitate a more efficient recovery.
What Causes Frozen Shoulder?

The condition develops when the capsule of connective tissue that wraps around your shoulder thickens and tightens, restricting the joint. However, researchers aren’t entirely clear why this happens.
Certain factors can increase your risk:
- Being a woman between the age of 40 and 60 years old
- Having certain diseases, including diabetes, thyroid conditions, or cardiovascular disease
- Immobilizing your shoulder after an injury or surgery
Understanding the Three Phases Of Frozen Shoulder
One reason frozen shoulder recovery can take so long is that the condition progresses through three distinct phases, each with its own set of symptoms and concerns. Here’s what you need to know about each one:
Freezing Phase
This initial stage is marked by increasing pain and stiffness in the shoulder. During this phase, we focus on maintaining your shoulder’s range of motion to help reduce stiffness and improve comfort.
Frozen Phase
The frozen stage involves less pain but greater stiffness, significantly restricting your shoulder’s movement. We’ll focus on improving your shoulder’s mobility using stretching or manual therapy techniques.
Thawing Phase
In the final stage, your pain decreases, and your shoulder’s range of motion gradually returns. However, it’s important to continue physical therapy to ensure you make a full recovery.
Physical Therapy and Frozen Shoulder: What You Need to Know
Physical therapy plays an essential role in helping you manage frozen shoulder symptoms at all three stages. Our team will work with you to develop a comprehensive treatment program, pulling from a range of different techniques based on your current symptoms:
Acute Pain Management
We’ll help you manage shoulder pain (especially in the freezing phase) with techniques such as dry needling, Kinesio taping, hot and cold therapy, and more.
Manual Therapy
Various hands-on techniques can gently mobilize the shoulder joint, improve joint capsule movement, and reduce pain.
Mobility Exercises
Targeted exercises and techniques help improve your shoulder’s range of motion in all directions, gradually restoring your ability to reach, lift, and rotate your arm.
Strengthening Exercises
Strengthening the muscles surrounding the shoulder joint enhances stability and supports improved function.
Understanding frozen shoulder is an integral part of managing it. We’ll help you navigate the difficulties of the condition, including identifying which stage you’re in and providing you with home exercises to help alleviate your symptoms.
Get Game-Ready for the Upcoming Fall Sports Season
As summer winds down, athletes and weekend warriors look forward to the start of the fall sports season. Whatever sport you are getting ready for, preparing your body is essential.
Start the season injury-free and in peak form with these tips:
Sports Screening
Consider getting a biomechanical assessment to provide insights into your posture, gait, and body mechanics, helping you tweak your training for better performance and lower injury risk.
Sport-Specific Conditioning
Prepare your body for the unique demands of your chosen sport. Different sports use different muscle groups, so tailor your workouts accordingly.
Prioritize Recovery
Getting proper rest (sleep) is a critical but often overlooked aspect of physical training. Incorporating foam rolling can help muscles recover and prevent overuse injuries. Investing time and effort in your recovery can significantly impact your performance on the field.
By integrating these tips, you’ll be well-equipped to tackle the challenges of the fall sports season while minimizing your risk of injury.
Here’s to a successful and injury-free sports season!

Ready to Break Free From the Icy Grip of Frozen Shoulder?
If you suspect you have frozen shoulder, schedule an appointment at Pro-Active Physical Therapy. Physical therapy is essential for managing the condition in all three phases, and the earlier you can begin treatment, the better your outcomes will be. Our team is here to help you manage pain, restore mobility, and understand your shoulder’s movement patterns.
Don’t let frozen shoulder hold you back. Call us today to schedule your initial evaluation!
Real Results. Real Recovery.

Meet Robbie Roberson, PT, DPT
Robbie is a member of our Malvern team. He completed his undergrad program at U of A and recently graduated from UCA with his degree in PT. He joined our Malvern team in August of 2024.
In their spare time he and his beautiful wife enjoy playing board games with friends, spartan races, dancing and playing sports. One day he would love to try base jumping.
Cheesecake Lemon Bars

Crust
- 1½ cups graham cracker crumbs
- 5 tablespoons butter, melted
- 2 tablespoons sugar
Filling
- 16 oz cream cheese, softened to room temperature
- ¾ cup granulated sugar
- 1 tablespoon lemon zest
- ⅓ cup fresh lemon juice
- 1 teaspoon vanilla extract
- 1 large egg
Instructions
- Preheat the oven to 350°F. Combine the graham cracker crumbs, melted butter, and sugar until the mixture resembles wet sand.
- Press the mixture firmly into an aluminum foil-lined 8×8-inch baking pan. Bake for 10 minutes, then set aside.
- Reduce the oven temperature to 300°F.
- Beat the softened cream cheese until smooth and creamy. Add the sugar and beat until well combined. Mix in the lemon zest, fresh lemon juice, and vanilla extract. Add the egg and mix just until combined.
- Pour the filling over the prepared crust and bake for 30–35 minutes, or until the edges are set while the center remains slightly jiggly.
- Allow the cheesecake to cool completely in the pan, then refrigerate for at least 8 hours.
- Lift the foil out of the pan, cut into bars, and dust with powdered sugar if desired before serving.